

How to create:
For each tent, begin with a cardstock base that measures 7" x 4". Fold in half to create tent that measures 4" x 3-1/2".
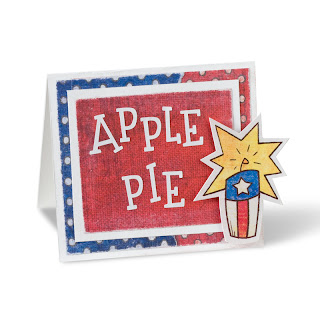
Decorate front of each tent by adding layers of stickers, patterned paper and cardstocks. Use Foam Squares to adhere some pieces to tents for dimension. (TIP: to avoid any stickers that are propped up with Foam Squares from "smooshing" down and sticking to project, coat with baking soda. NOTE: adhere foam square to backside of sticker, then BEFORE peeling away protective sheet from foam square, sprinkle baking soda across back of sticker. Remove protective sheet, then adhere to project).
Create labels for dishes by adhering letter stickers to papers and trimming around. Add distressing by sanding edges of patterned papers.
Projects created using Cardstocks - White, Cranberry & Royal Blue, Primary 4th of July Additions, Swirly White ABC/123 Stickers, Foam Squares, Scissors and Sandpaper.
Designed by Addie Rysavy


